Thursday, September 27, 2012

Chocolate chip cookies


These are for sure my new favorite cookie recipe.   You know I have been looking for a delicious Chocolate chip cookie recipe for a long time.  One that is crispy on the outside but soft and chewy in the middle.  So the other day when I was hanging out with some friends drinking a lovely coffee I was offered one of these cookies warm right out of the oven.

I am sure bells and whistles went off when I first bit into it.  It was the most scrumptious cookie I have had.  I immediately asked for the recipe and 2 days later my hubby came home to a batch of fresh baked cookies which we enjoyed as a family for dessert with a cold glass of milk.   Luckily for you readers I asked my friend if I could share her recipe and she said Yes!  So here is your treat for the day. Let me know if you run right to the kitchen to whip up a batch of these babies.


Chocolate chip cookie recipe

1 cup margarine
2 tsp vanilla 
1 cup of white sugar
1/2  cup brown sugar 
add 2 eggs and mix 
In seperate bowl sift together
3 cups flour
1 tsp salt 
1 tsp baking soda
add dry ingredients to wet and mix
add lots and lots of chocolate chips 

Drop by tablespoon and cook in preheated oven at 350 for about 12 minutes. When bottom is golden brown they are done. Enjoy!!!

Wednesday, September 26, 2012

School time

I can't believe we have been homeschooling for almost 1 month.  Things are going really great.  Eben (for the most part) is enjoying school time.  This month we are focusing on learning to write.  I love all these mazes, number and letter templates I printed off line.  We are also able to keep them because I have put them all into page protectors.  You can check out my homeschool work books here


Letter recognition mazes from Tons of Fun


Numbers and letter practice


And the number one question....how do you entertain the toddler??  Well if she isn't doing blanket time she is strapped in the high chair sitting at the table with us either coloring or playing with these beads.  


Tuesday, September 25, 2012

Apple Jelly


What a great fall we have been having!  We are having cool nights and very warm days.
Last fall while living with my in laws I learned how to make apple jelly so this year I was excited to give it a try myself.  So I took the kids last week out to their nannie and papa's house to pick these "beauties".   


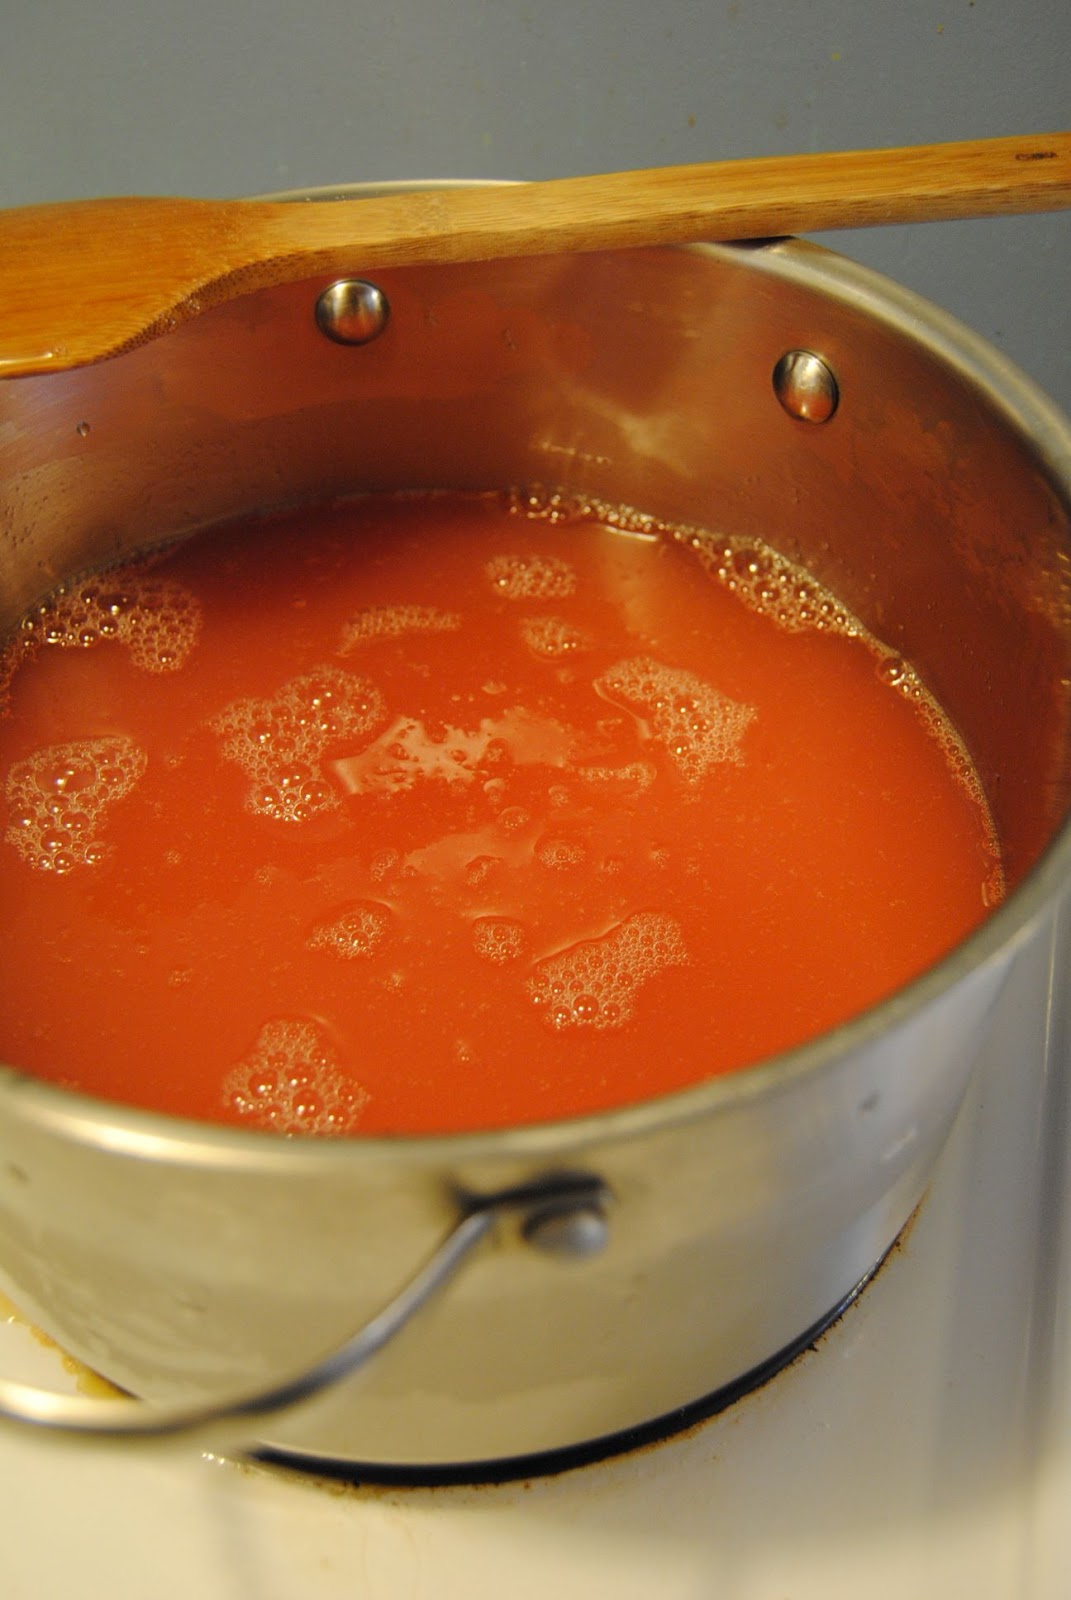
After getting two bushels of apples we brought them home to start the process.  First I cut the apples in half or quarters depending on their size.   Because you boil the apples down and then strain the liquid you don't have to peel them or core them.  Just through everything into a pot and add some water.  I filled the pot up with apples and the water was about 1/2 way.   Let the apples boil down for about 2 hours.  

The longer you boil it down the more you will get a good apple pectin; which helps with the jelling process if you are not using Certo.   To strain your apples you can use a cheese cloth but what I do is use an old pillow case that I lay over a roster and hold it in place with clothes pins.  Then I spoon the apple goo onto the pillow case and let it sit so the liquid drains through the cloth.   The longer you let it sit the more juice you are going to get. 


Once the roaster is filled with juice I poured that juice into 4 L water jugs and put it into the fridge.  I wanted to do all the boiling of the apples first before I started the jelly.   When I was finished with all the apples I had almost 2 full water jugs which was 8L of apple juice!

When I was ready to start the jelly process I decided to do 5 cups of juice at a time that way it was easy to mange (since I have 3 small children) and if it didn't jelly then I could easily reboil it.

So here is the jelly method I used.  For every 1 cup of juice use a full 1/2 cup of sugar.  Bring that mixture to a boil and let it cook at a good rolling boiling for 15 minutes.  While it is boiling place a small plate in the freezer.  When the 15 minutes is up take out the plate and drop a spoon full of the jelly mixture onto the plate.  Place the plate back into the freezer for 1 minute.  When the timer beeps take the plate out and push the jelly with you figure from the edge to the center.  If the jelly wrinkles in the center then you can pour the hot boiling liquid into hot jars and seal with clean lids.  Let the jelly sit for at least 24 hours.  If it doesn't wrinkle let it boil 5 more minutes and try again.


To get hot clean jars I like to give them a wash in the dishwasher first.   When they are clean from there I place them on a cookie sheet and put them into a warm oven (~200).  When I am ready for them I simply take the cookie sheet out and use a funnel to pour the hot liquid into them. 


For clean lids and rings I place them into a mixing bowl.  Boil the kettle and pour the boiling water over all the rings and lids and leave in bowl until ready to use. 


Store your jelly in a nice cool place!  I ended up making over 14 jars of jelly and one jar is 1 L.  Eben loves apple jelly so much I think I might give him that jar as a Christmas present! 


If you are giving away jelly as a gift simply unscrew the ring carefully and place a decorative cupcake liner over top of the lid. 

 Then screw the lid back on and ta-da you have a nice decorated bottle of jelly to give away. 


What an inexpensive way to make jelly.  Its just takes some time but you can do it in steps so its more manageable.  I think from start to finish it took me 1 week. The bonus of the process; your house smells amazing!!!


Monday, September 24, 2012

Sight word spelling


 We just finished week 3 of homeschooling.  I can't believe how fast the time is going by.  Even though we have our "days" we are LOVING schooling at home.  Eben has been doing very good learning lots of new things.  

One way to get him spelling and recognizing sight words are with these "cookie sheet" activity sheets.  Instead of putting them onto a cookie sheet I put them up on the fridge.  Eben then looks through all the letters on the side of the fridge, chooses the ones he needs to spell the words and then fills in the sheet.   


For his spelling test (pictures are from two different sets of sight words :) I take away the paper and see if he can spell them without seeing the word.   It keeps his attention being able to do activities like this through out the day.  


Thursday, September 20, 2012

S'more Granola


We LOVE s'mores around here so when I saw this recipe on pinterest I knew it was something I wanted to try.  After looking through the recipe I decided to use the same concept but come up with my own version.  
So here it is
2 cups of rolled oats
1/2 cup Golden graham cereal
1/4 cup sugar
2 Tbsp honey
1 egg
1tsp baking powder
pinch of salt
1/4 cup crushed chocolate teddy graham bears
1/4 chocolate chips
mini marshmallows

Mix all ingredients together except the chocolate chips and marshmallows.   Spread mixture onto a cookie sheet that has been lined with parchment paper.  Bake for 15 minutes in a preheated 350 oven.  Remove from oven and stir up the granola to break it apart then bake for another 15-20 minutes or until granola is crispy. 

Add chocolate chips and marshmallow and store in air tight container. 


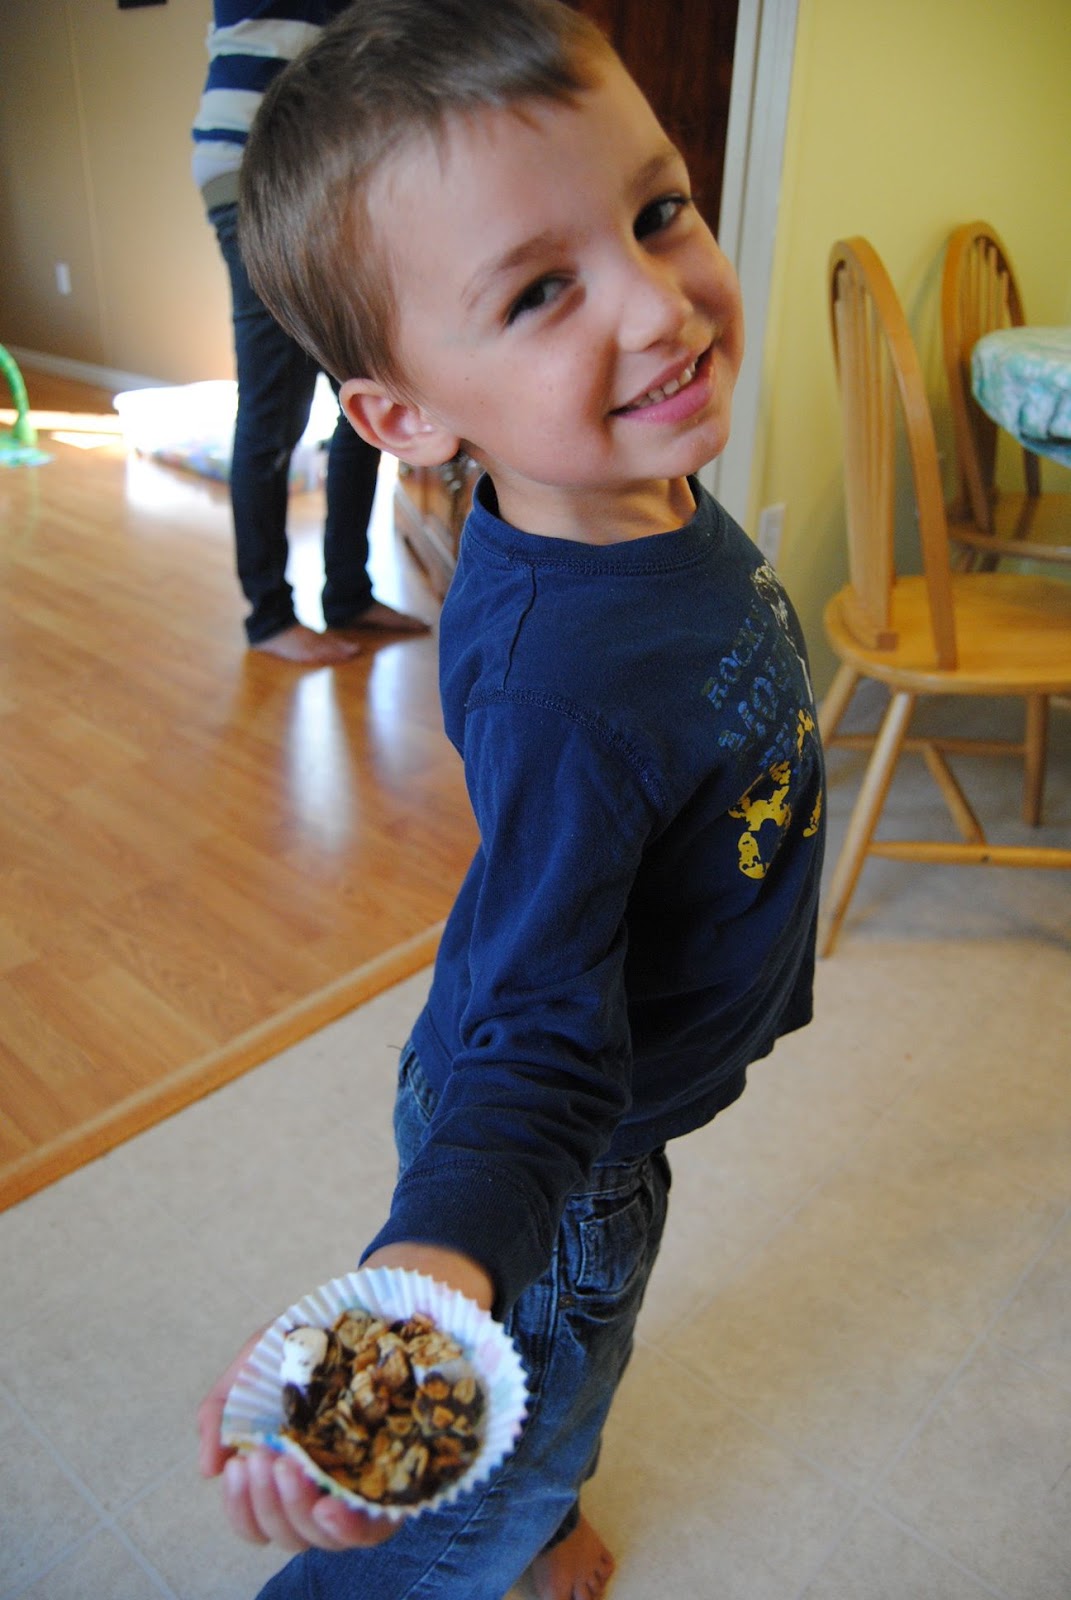
For snack time or treat time I scoop a little out into muffin cups for the kids to eat out of. 


One really great thing about this granola is that its peanut free so you could make up a batch for the week and send it with your kids to school.   

Tuesday, September 18, 2012

Garden


It has been a great garden summer this year.  We harvested lots of beans, peas and tomatoes in our Community garden.  Now that Sept is here we are working on harvesting many many rows of potatoes.  Sept 29th will be our final harvest.  We are so blessed to have received such yummy food from our gardens. 


What would a community garden be without any fun???  This guy is so talented to be able to balance this on his nose!!!  Everyone thought it was great. 


So how was your garden this year??  What times of food did you harvest?

Monday, September 17, 2012

Meatball sub


My husband loves meat ball subs.  When we first started dating (and in university) we would eat at Subway and he would always order the meatball sub.  I would always be poking at him that he wasn't getting any veggies on his sub and that it really wasn't a healthy option (that is the Dietitian in me).  So he would be funny and always order spinach with his sub.

Fast forward 9 years and here I am in my kitchen making my husband his first meatball sub from Kate's Creative Kitchen!  Since I have never made these before I did a quick search on pinterest and came across this recipe.


homemade meatballs

Ingredients:
1-2 pound ground beef
3 cloves garlic, minced
3/4 cup breadcrumbs
2 large eggs
3/4 cup Parmesan cheese
1/4 teaspoon salt
freshly ground black pepper
splash of milk
olive oil
6 cups marinara sauce - more or less, as desired

directions:
1. In a large bowl, combine the meat, garlic, breadcrumbs, eggs, Parmesan, salt, a couple of grinds of pepper and a splash of milk. Mix together well with clean hands. Roll into 24 1 1/2-inch balls and place on a rimmed baking sheet. Place the baking sheet with the meatballs into the freezer for 5 to 10 minutes to firm them up slightly.
2. To brown the meatballs, heat a couple of swirls of olive oil (about 2 tablespoons) in a heavy pot or large skillet over medium-high heat. Add the meatballs, turning to brown all sides. They do not need to be cooked through.
3. Add the meatballs and marinara sauce to a large pot and stir gently. Heat over medium heat until the sauce begins to bubble. Reduce heat to a simmer and cook for 20 minutes, stirring very gently a couple of times during simmering.
4. Serve meatballs and marinara stuffed into rolls with melted mozzarella cheese


 I served these with a delicious avocado salad.  I was so surprised that the kids each ate a 1/2 of a sub.  This meal will go on our meal plan again.


Hubby did look at me during supper and said.  "These are really good babe; the only thing missing is the spinach."
Related Posts Plugin for WordPress, Blogger...