Thursday, April 11, 2013

Project time

I have taken a little break from blog due to our lap top not working properly.  But my amazing husband has fixed it and its now a lap top again!  We can move it around and I can finally blog on it during nap time.
Another reason I haven't blog is because we have been busy working on a Heritage fair project.  This project was a lot of fun for Eben and I to do together.


 I decided I was going to let him do all the work and just help where I could.  Our topic was to study the Canadian beaver.  While the other two little ones napped Eben and I would watch videos on beavers, read books and create our poster board presentation.


My scrapbooking supplies sure came in handy for this project.  We used my Cricut machine to cut out the letters to spell Beaver across the top.   Eben would than write different facts about Beavers, choose the colored piece of card stock and glue his work onto the colored paper and then we would place it on the board. 

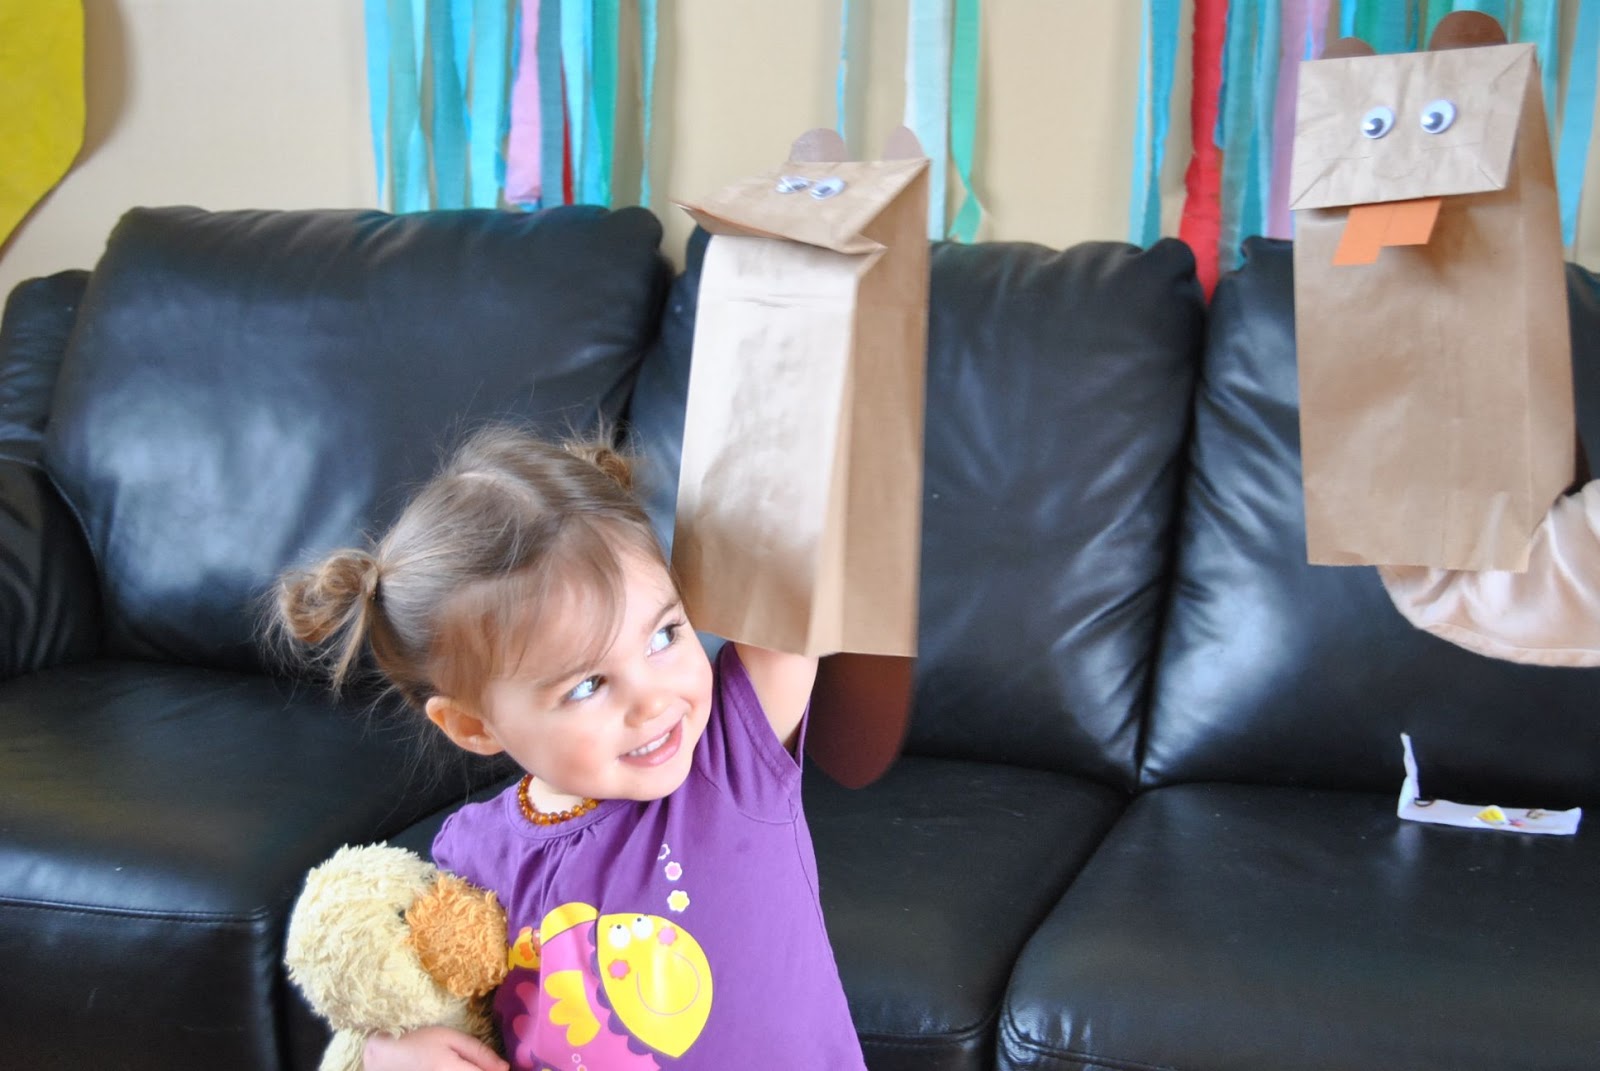
We made two beaver puppets out of brown paper lunch bags. 


We used orange card stock for the teeth...cause beaver teeth are orange believe it or not and brown card stock for the ears and tails (which you can't see in the bottom picture).  The eyes are goggly eyes glued on.  I used the puppets to get Eben to tell me beaver facts.  He pretended it was the beaver talking. 


Since beavers are herbnivors we decided to make a beaver salad to have on our presentation table.  So Eben and Lady J went outside and collected sticks, twigs and bark.  Then they came inside to break them all up and put them into this salad bowl.


I used some fancy scrapbook stuff I had around the craft desk and Eben wrote Beaver Salad on it. 


The night before the Heritage Fair I decided to make beaver tails for supper.  I was so happy to find this recipe for them.  They were easy to make and they tasted so delicious. 


I rolled out a few at a time, gave them a quick fry and then brushed with melted butter and rolled in cinnamon sugar mixture. 


The last part of the project was constructing the beaver lodge. This fun activity was done with the school principle. 


 We started with a small cookie sheet and cut a 12*12 piece of blue card stock to fit in it.  Next I mixed up some frosting with brown food coloring.  Then I let the little ones go to town with pretzel sticks.  They did use a toliet paper roll to use as the inside of the lodge.


 I think I caught someone licking his fingers!


Here is the 3 cute busy beavers covered in mud with their finished product. 


And the little treasure is the beaver himself.


And here is my little man in front of his project before the judges came!  He did a great job.  Everyone who participated got a medal with their name on it and everyone won a special prize.  Eben received the best researched project and got a little gift card to to fun shop here in the city!  I thought this project would be done with but we are going to the regionals next week with some other great friends so it will be another day of telling the judges all about Beavers!!


Tuesday, March 19, 2013

BBQ Chicken Taquitos


I got the idea for this recipe from of course pinterest which lead me to this blog!  I couldn't wait to try this recipe, especially after two friends had tried them and said their kids LOVED them. 


When I went to make them I noticed that I was missing some of the ingredients and that maybe my extremely picky eater wouldn't really go for that recipe so I decided to use her same technique but use my own recipe. So BBQ Chicken Taquitos was born.  I will let the pictures do most of the talking.  I think this was my first recipe I actually remembered to take photos along the way. 


Cooked chicken cut into bite size pieces
Red and Green peppers
Onions
Garlic
Frozen Corn

Fry all together in a hot pan and add favorite BBQ sauce. 


Place about 2 Tbsp of the mixture into the center of egg roll wrapper and top with grated cheese. 


Fold wrapper like this


And this


Than roll it up like this

Place all you taquitos onto a cookie sheet that has been lined with parchment paper


Bake at 375 for about 25 mintues.  Be sure to serve hot with any dipping sauce you would like and a nice spinach, strawberry almond salad!  yummy.


Monday, March 18, 2013

Roasted Vegetables


Here is a recipe we started eating back in January when we were enjoying our Daniel fast.  Its a very simple recipe that can be made to your own family taste. 


You can wash your veggies and leave the skins on or you can peel them which ever you prefer.  I started out with potatoes, onions, carrots, sweet potatoes, and mushrooms.  Also you can add zucchini or a chunks of butternut squash.  

Coat the vegetables in a good amount of olive oil and season with a good (no additive) Montreal Steak Spice. 


Pour your coated veggies onto a cookie sheet that has been covered with parchment paper!  This is also a new favorite for me in the kitchen.  I received new cookie sheets for Christmas and I wanted them to look clean so I bought a giant box of parchment paper from there and use it all the time on these pans. 


Now roast them in the oven.  I usually do 400 until they are done.  I like the vegetables to still have a little "bone" in them.  During the fast we liked to enjoy these over a bed of quinoa.  What a great way to get your vegetable servings! 


Monday, March 4, 2013

Dr. Seuss Party Snacks


Welcome to the Jungle of Nool where we had our Dr. Seuss party!!!    


I want to share with you readers today some of the yummy snacks we enjoyed at our Seuss party.  Lets start with the drinks.  Pink Yink Ink Drink was the drink of choice at the party.  I purchased some real fruit juice and added a bit of 7 up to it.  The fun colored paper straws were purchased from the Great Canadian Dollar store.  


The Lorax was present on the snack table as well.  Aren't they the cutest things!!!  Other Lorax snacks included Brown Bar-ba-loots which were chocolate teddy grahams and we had a small jar of gum balls for truffula trees. 


For Christmas I had purchased this cute set of Alphabet cookie cutters.  I can't believe I hadn't used it yet but Seuss week seemed like the perfect opportunity to use it especially after reading the ABC book.


I made a basic sugar cookie recipe and Jaelyn helped me roll out the dough and make the letters. 


For the party I put all the cookie letters in a basket and had Seuss spelt out in front of it.  I tried to use all the books that we got our ideas from on the serving island as well. 


And now here comes the famous cat in the hat book!!!  And these treats where so tasty.  They are Oreo's dipped in white chocolate and then decorated.  The plate was also hand painted with sharpie marker and baked in the oven. 


 Here are Cat and the Hat skewers made from Strawberries and bananas. 


And we can't forget the delicious thing 1 and 2 cup cakes.  A delicious chocolate cupcake with blue cream cheese frosting. 


 The fish in the pot was joined by some more friends for the kids to snack on. 


And these little jello cups were yummy to...I LOVE Swedish fish !!


Here are the kids enjoying their snacks on place mats that one of the mama's made for each of the kids. She took 2 books The cat in the hat and hop on pop (both found at value village for 0.99) and laminated two pages together to make the place mats. 


Friday, March 1, 2013

DIY Seuss photo booth


Horton hears a Who and Thing 1


I had so much fun making these photo booth props for our Dr. Seuss week at school.  To start off I did a search on pinterest looking for ideas.  I really love this of the this idea of the gals reading and you can image my excitment when I realized I have all the props for it!!  Another blog I found was this one which gave me the idea to make the thing hair and the Lorax mustache.  

To make the hair I had this color blue in card stock so I free hand the hair using as much of the paper as I could.  Once it was outlined in pencil I used a black sharpie and then cut out my design.   I had attached a stick to it to use but my son really loved it and wanted to wear it and asked if I could make it into a hat so he could play with it on.  


So I took the stick off and found an old handband that I don't use any more and super glued it onto the hair.  That way he can wear it while playing around the house. 


One thing about being a scrapbooker is I always have coloured card stock lin the craft room.  I found a color that would work for the Lorax and free hand the mustache outlined it in black sharpie and cut it out.  I glued the sticks onto these. 


I saw the idea for these ears here and used this as a guide to free hand it onto gray card stock.  Outline in black sharpie and cut out.  I didn't want the kids to have to hold the ears up so I decided to use a head band and glue the ears on. This took a little bit of trying because I wanted the ears cover the kids ears so you have to glue them down on the headband and at a angle. 


All ready for the photobooth along with books, frame, chalk boards, nerd glasses, truffula trees and thing 1, 2, 3 shirts and cat and the hat shirts my friends made!!!  


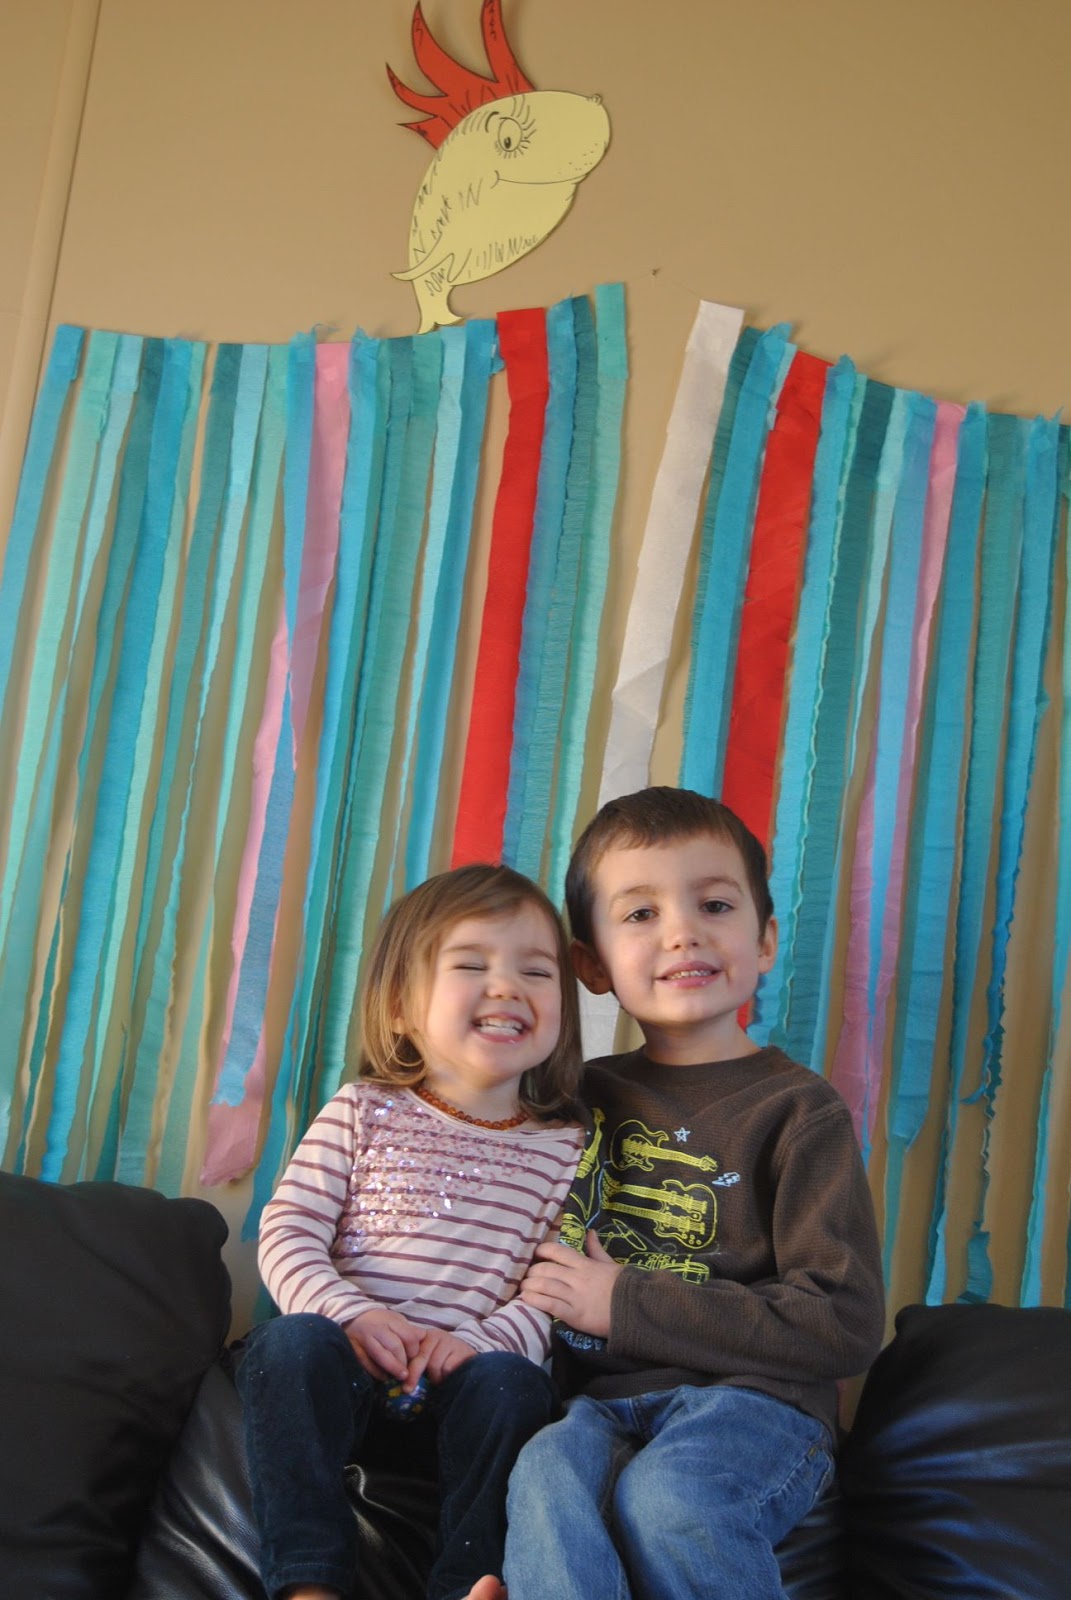
For the back drop I decided to use streamers.  I took some jewlery string and hung it up on the wall.  Then I cut streamers the length I needed.  I randomly put the streamers onto the string using photo tape which is a strong double sided tape.  I put the tape at the end of the streamer and carefully folded it over the string.  To add a pop of color I used 2 pink, 2 red and 1 white in the center.  When my husband saw it it said it could be the "cool of the pool" from horton hears a who. 


Over top of the "pool" my husband drew this fish which is the glad fish from One Fish Two Fish Red Fish Blue Fish.  He looks cute jumping out of the "pool"


Here are some photos we did just playing around!


For lots of more crafty inspiration check out iheartanp time.
Related Posts Plugin for WordPress, Blogger...